
How to Get rid of Neck Seams - Texture
In continuation of the Mesh-version, here is the Texture part of erasing neck seams! This tutorial requires basic understanding of this tutorial.
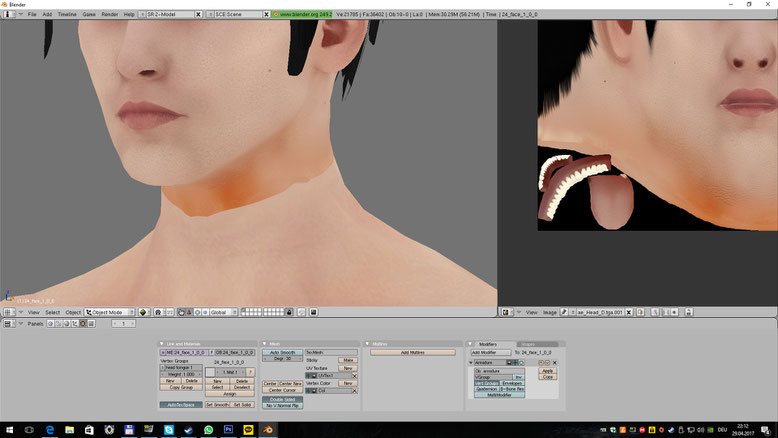
1. Make sure your model's base skin color matches. This example was exaggerated around the seam area for demonstration, but it will work the same on pretty much any model.
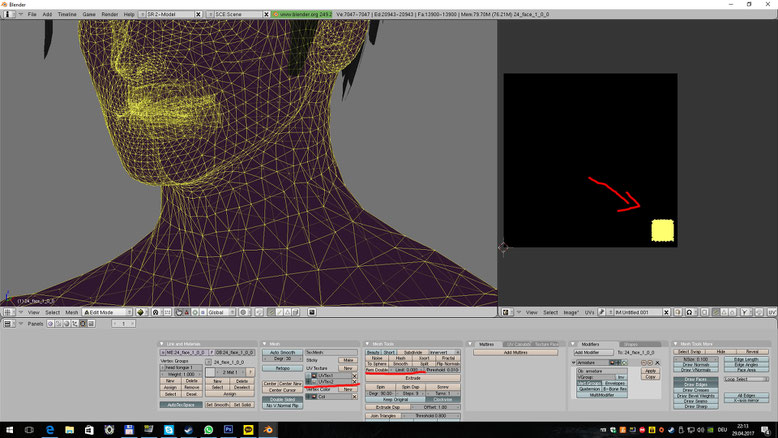
2. Join Head and Body mesh and remove doubles on it. Go once back to Object mode and then create a new UV layer. On this UV layer scale everything small so it's just in a lower corner as shown below.
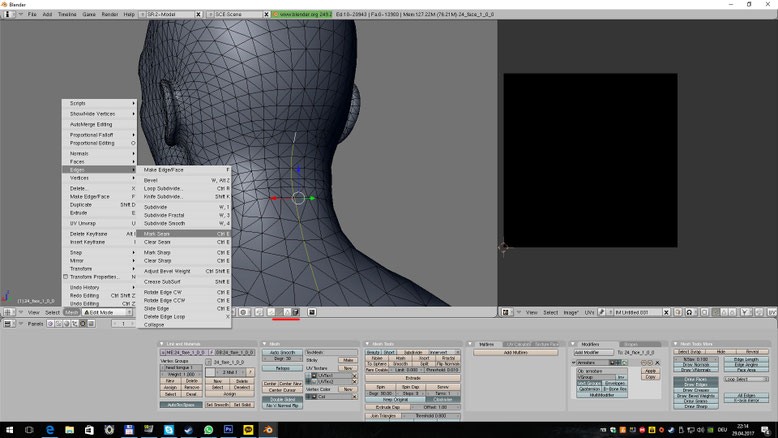
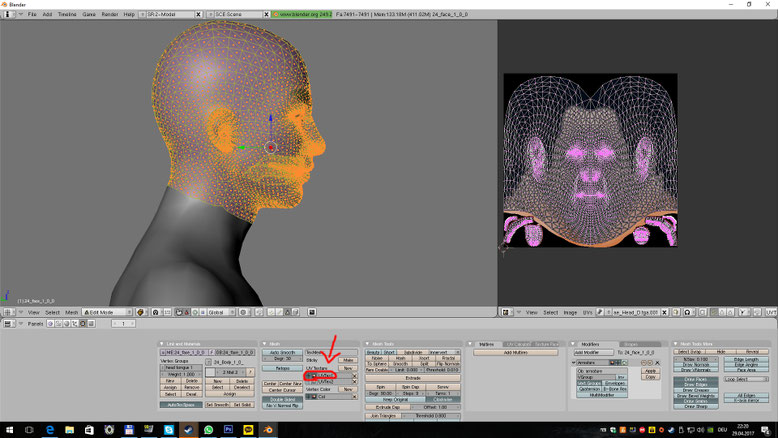
3. Now create a seam on the back. Select edges in a clear row downwards as shown below. These edges should be up and low the seam you are trying to get rid of. Once you selected them go to Mesh->Edges->Mark Seam.
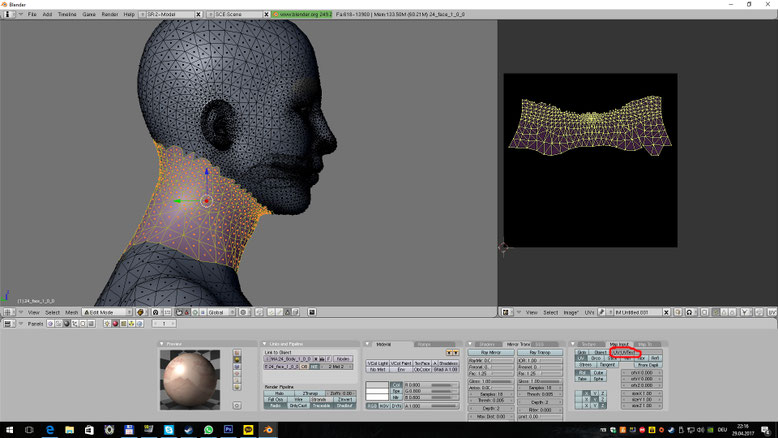
4. After that select faces around this seam (but not higher or lower than it) all around the neck. Press U and select Unwrap. Scale and move this UV as shown below.

5. Disable all additional textures in the material.

6. Make sure it remains set to UVTex1! Also this has to be done for both, head and body materials!
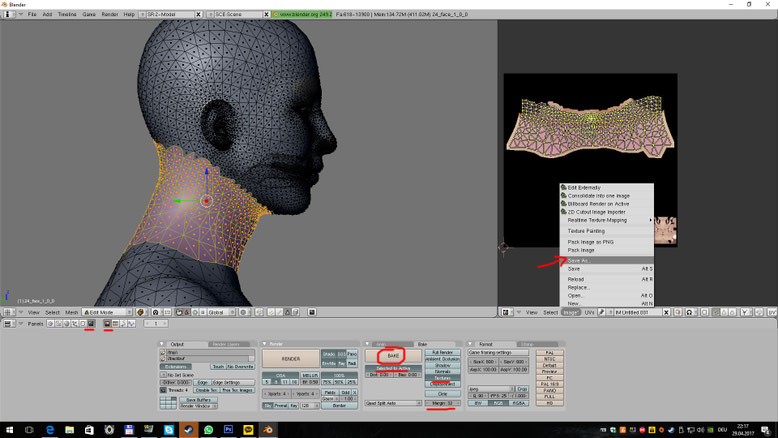
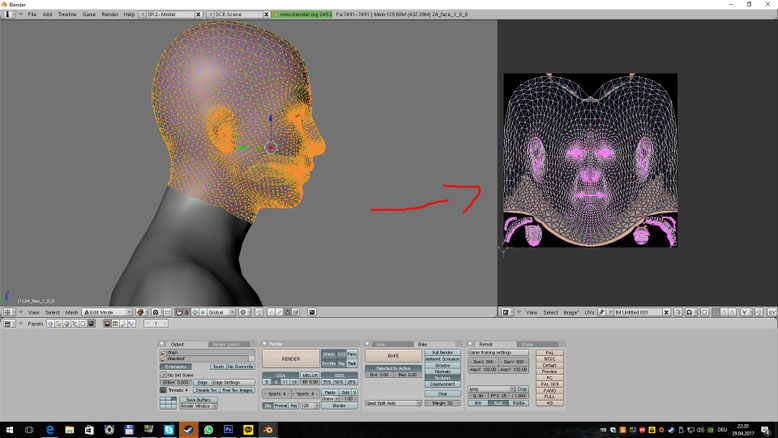
7. Now bake this to a new image! Make it 2048x2048 pixels. Once it's done, save it.
8. Open this baked image in Photoshop. Edit the small part on the lower corner to be entirely black. Then edit away the neck seam in any way that works best for you. I just used the repair tool on this one.

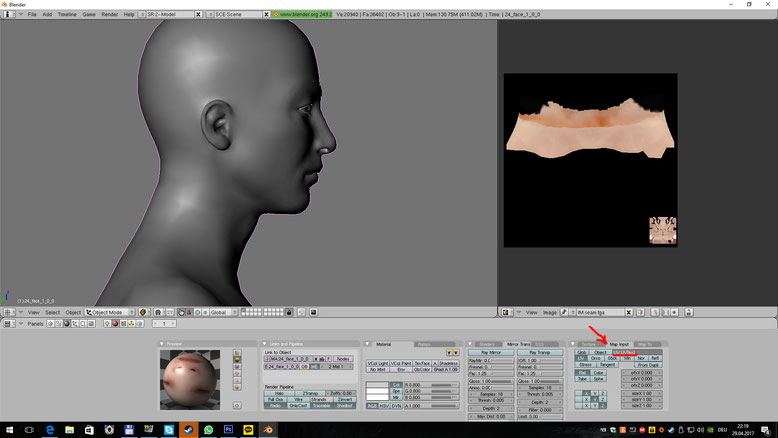
9. Set the Materials to use UVTex2 now and also load the seam image you just edited as the texture on both materials.
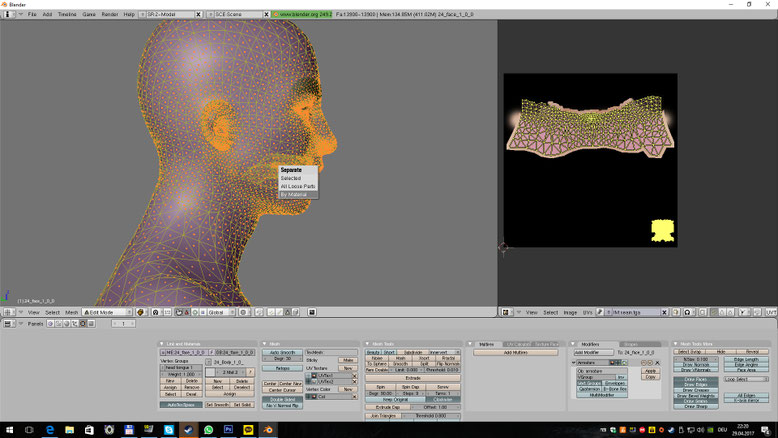
10. Seperate the mesh by material.
11. Switch back to UV layer 1 in your UV view window.
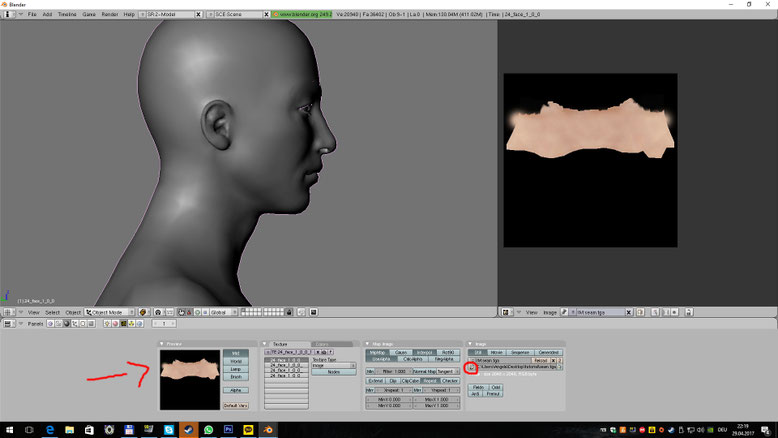
12. Bake a new image (2048x2048 again) and save this:
13. Paste it over the real diffuse in Photoshop and erase all of the layer except the neck area you fixed.


14. Repeat this on the body texture aswell. Then load your new textures in blender and see if you succeeded.
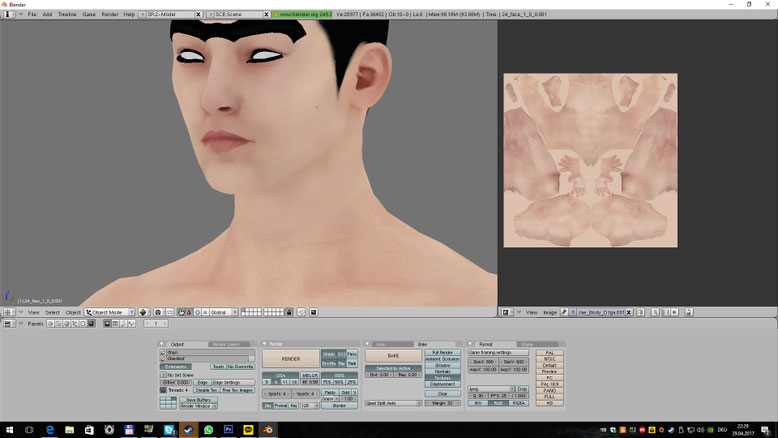
If all went well there won't be any seam anymore! \(^~^)/